O-Sense


THE COOLCUBE MAXI INTERIOR
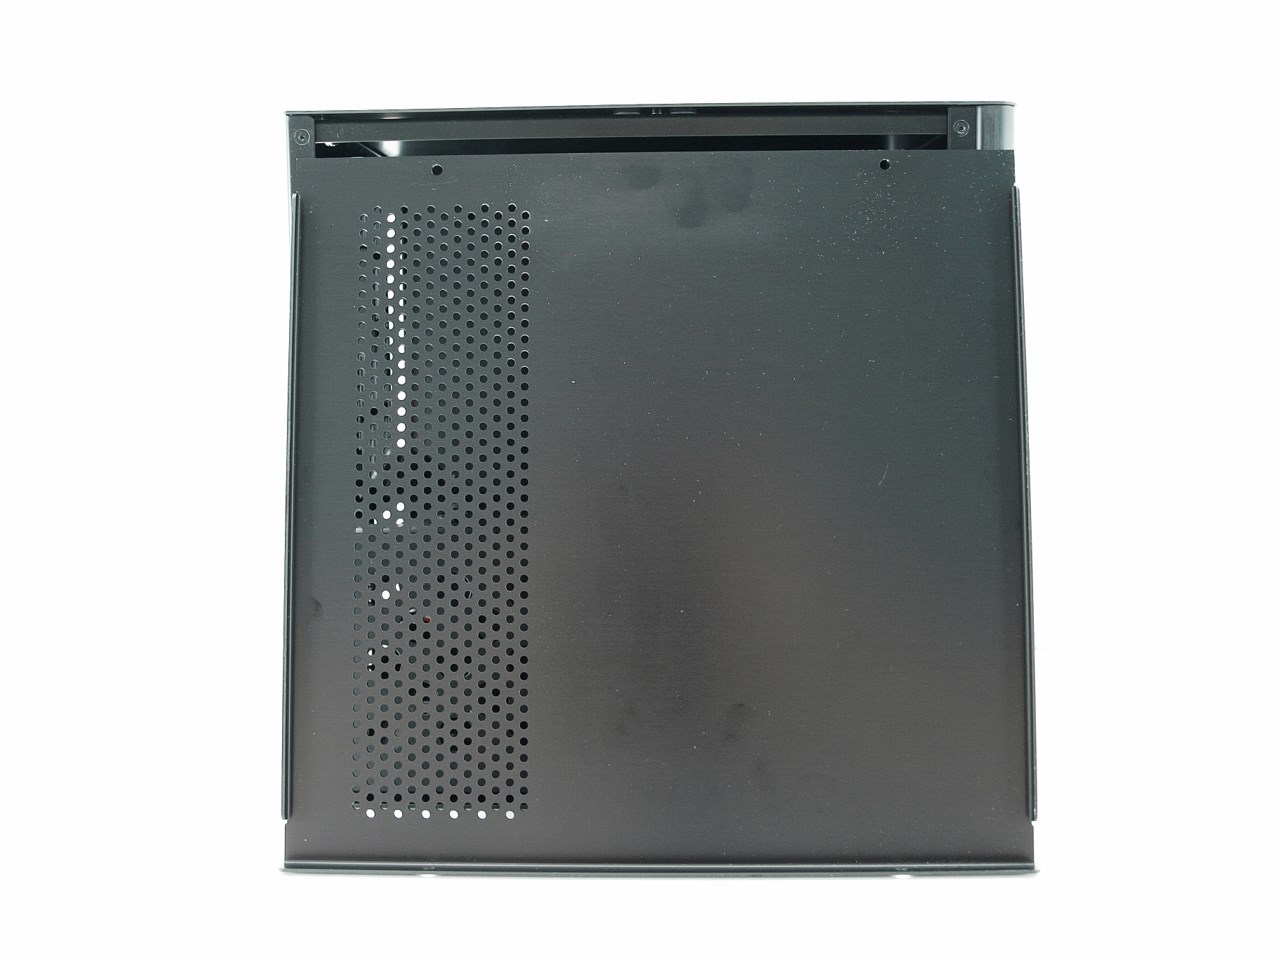
Once you remove the left side panel you will understand why the Coolcube MAXI has no fans preinstalled. You see in order to keep both weight and cost low Cooltek has used quite thin aluminum plates for the sides which may not be able to keep noise levels into a minimum (but then again most people i know that use such tiny cases hardly ever install more than 1 or 2 fans).
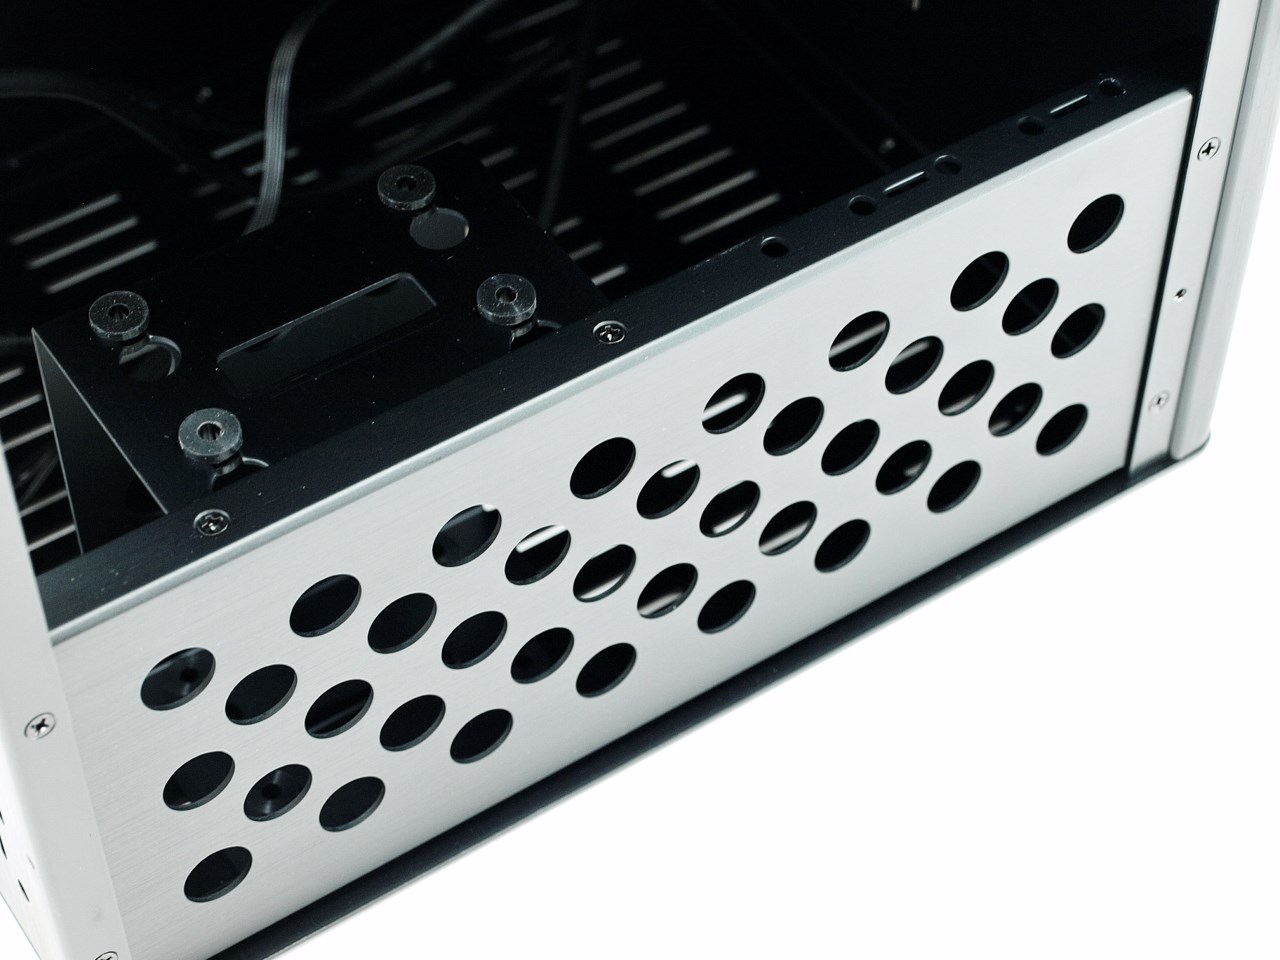
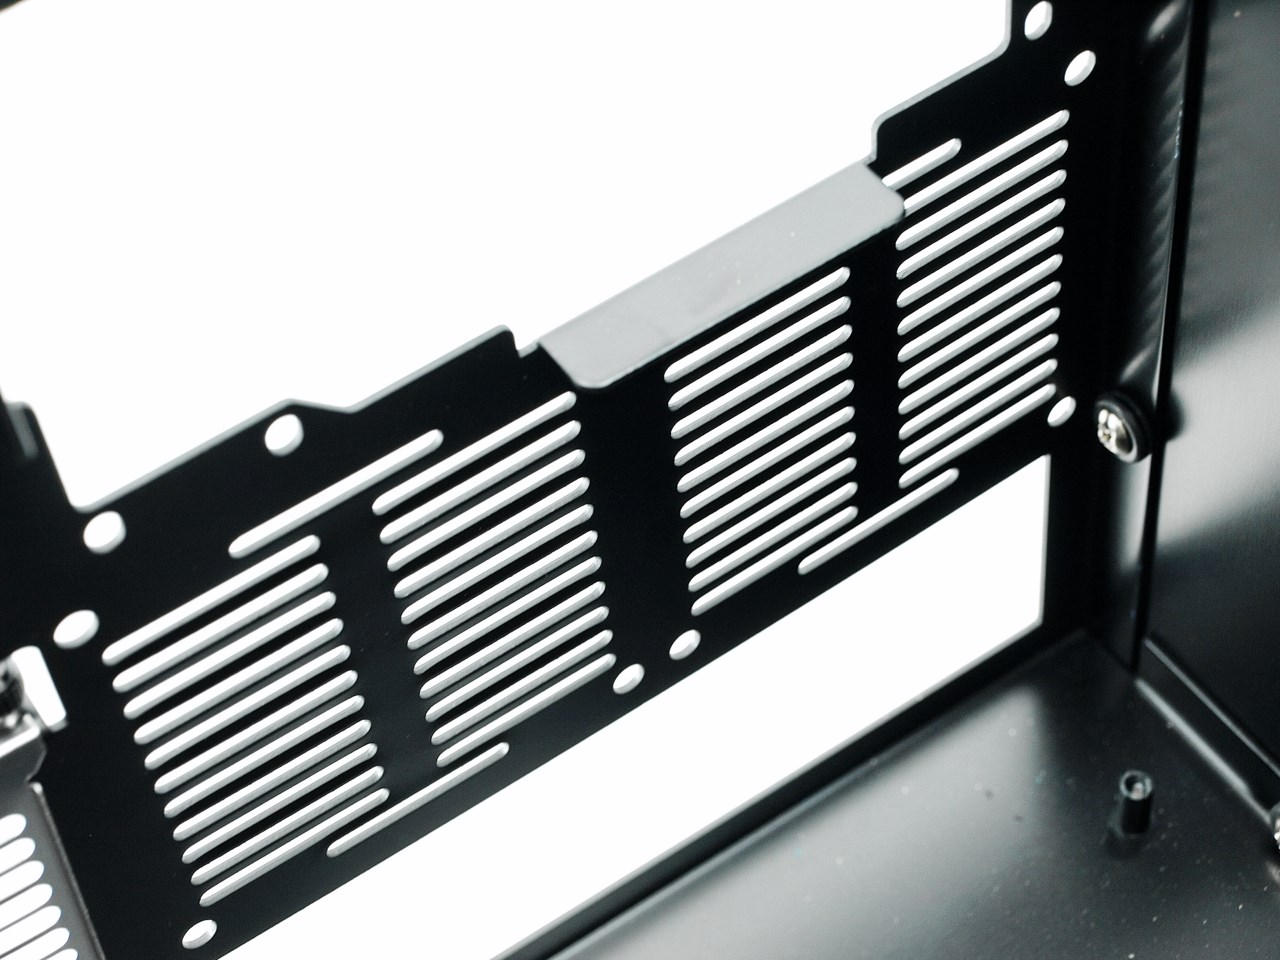
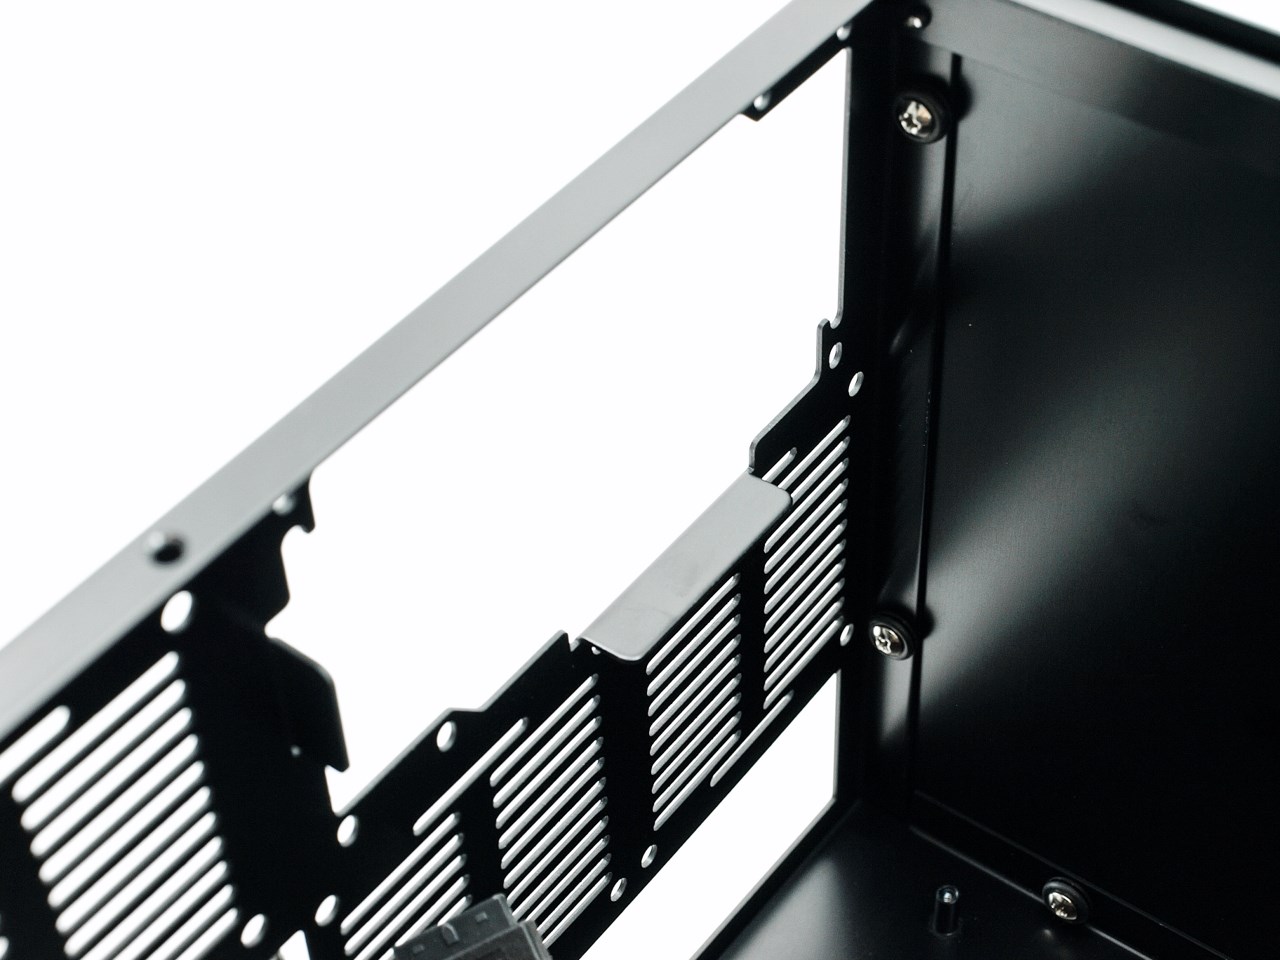
Right behind the left side panel we see the HDD cage which is perfectly aligned with the perforated section so they can get as much air as possible.
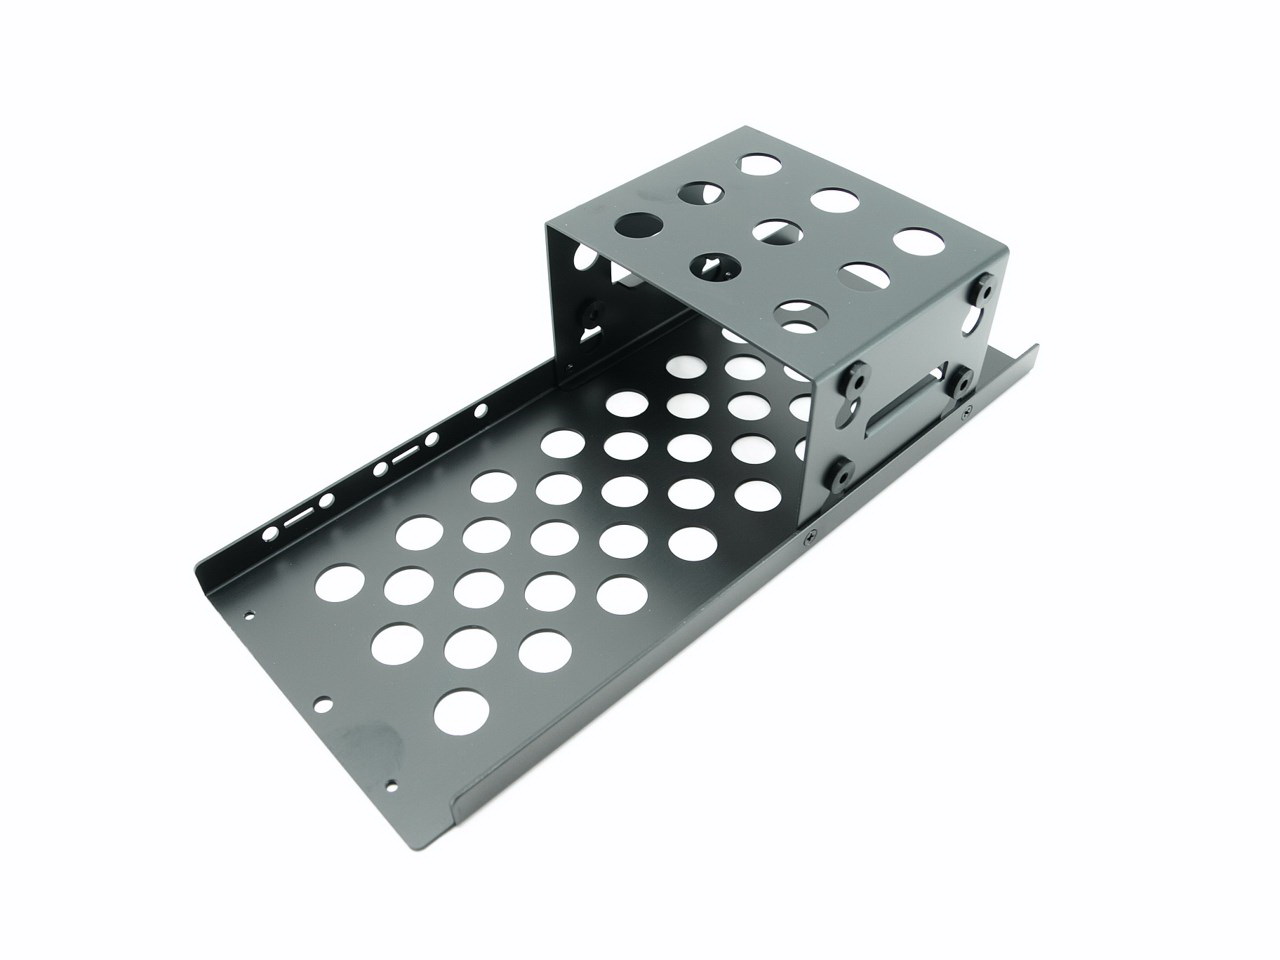
This cage gives you room for up to two 3.5" drives.
There's room however for a third 3.5" (or 2.5") drive at the bottom of the case if the above two are simply not enough.
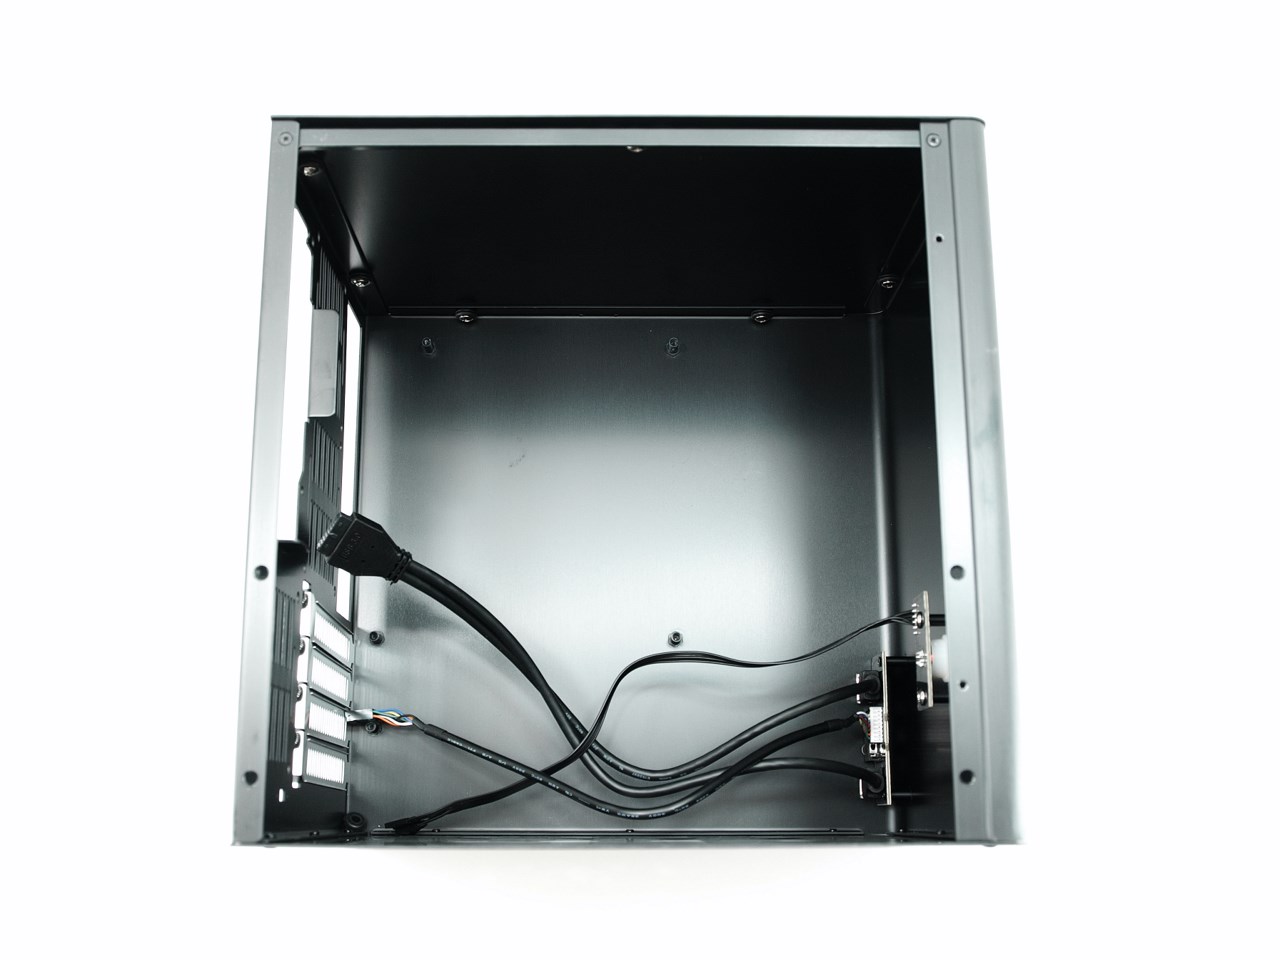
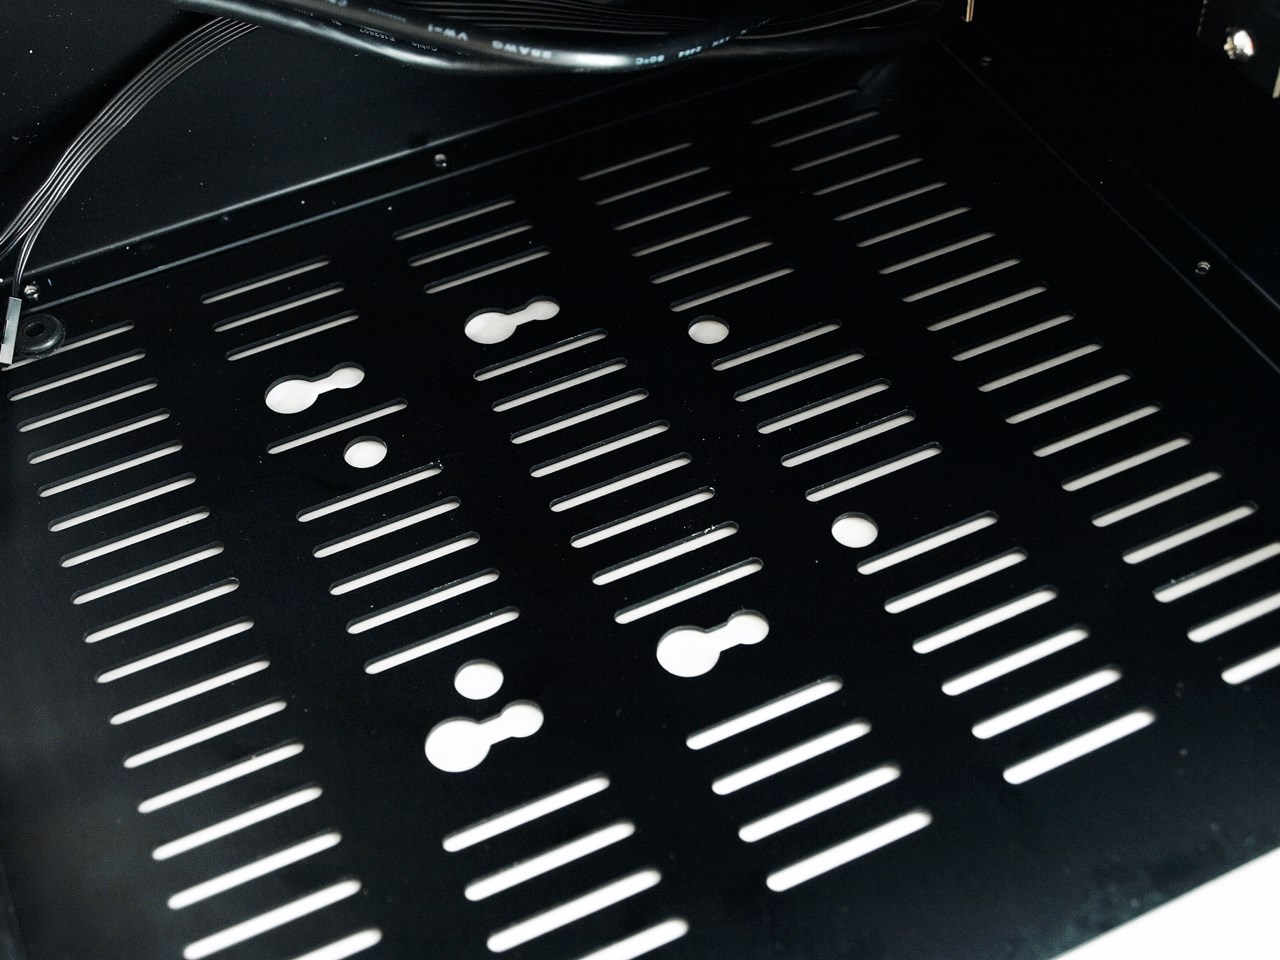
After taking the cage out of the way we see that the interior of the Coolcube MAXI is quite spacious for its size.
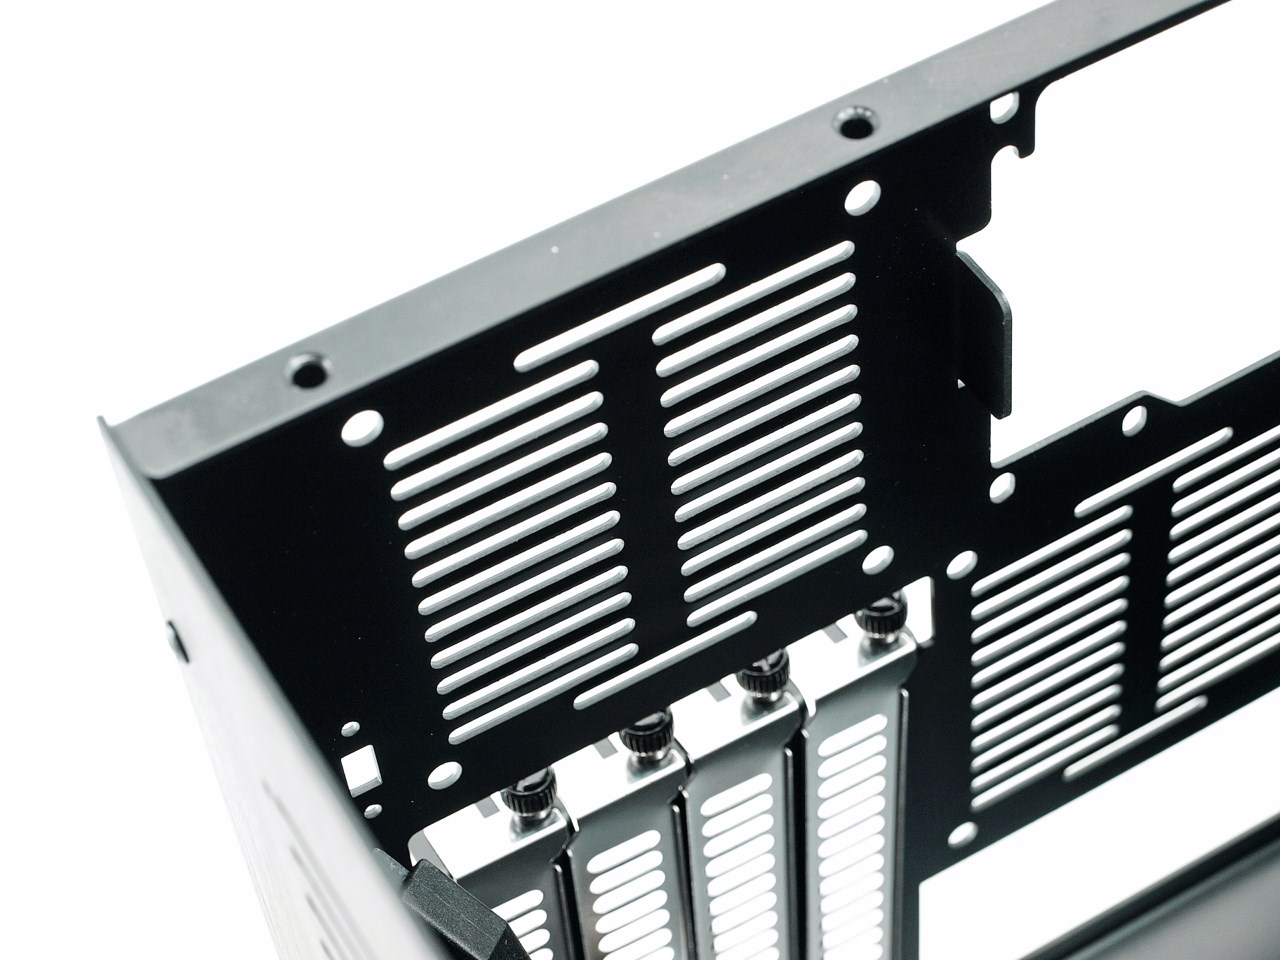
In the above pictures we see the 3 available 80mm fan spots and a small opening right above the PCI expansion slots which can be used with a speed control switch (something that Cooltek may offer in the future).
The PSU area is right above the two 80mm fan spots so i'd probably have those two push air from the interior and the one in the bottom suck air in.
If you want you may also remove the top panel to make it easier for you to install the mainboard.