O-Sense


THE CHALLENGER INTERIOR
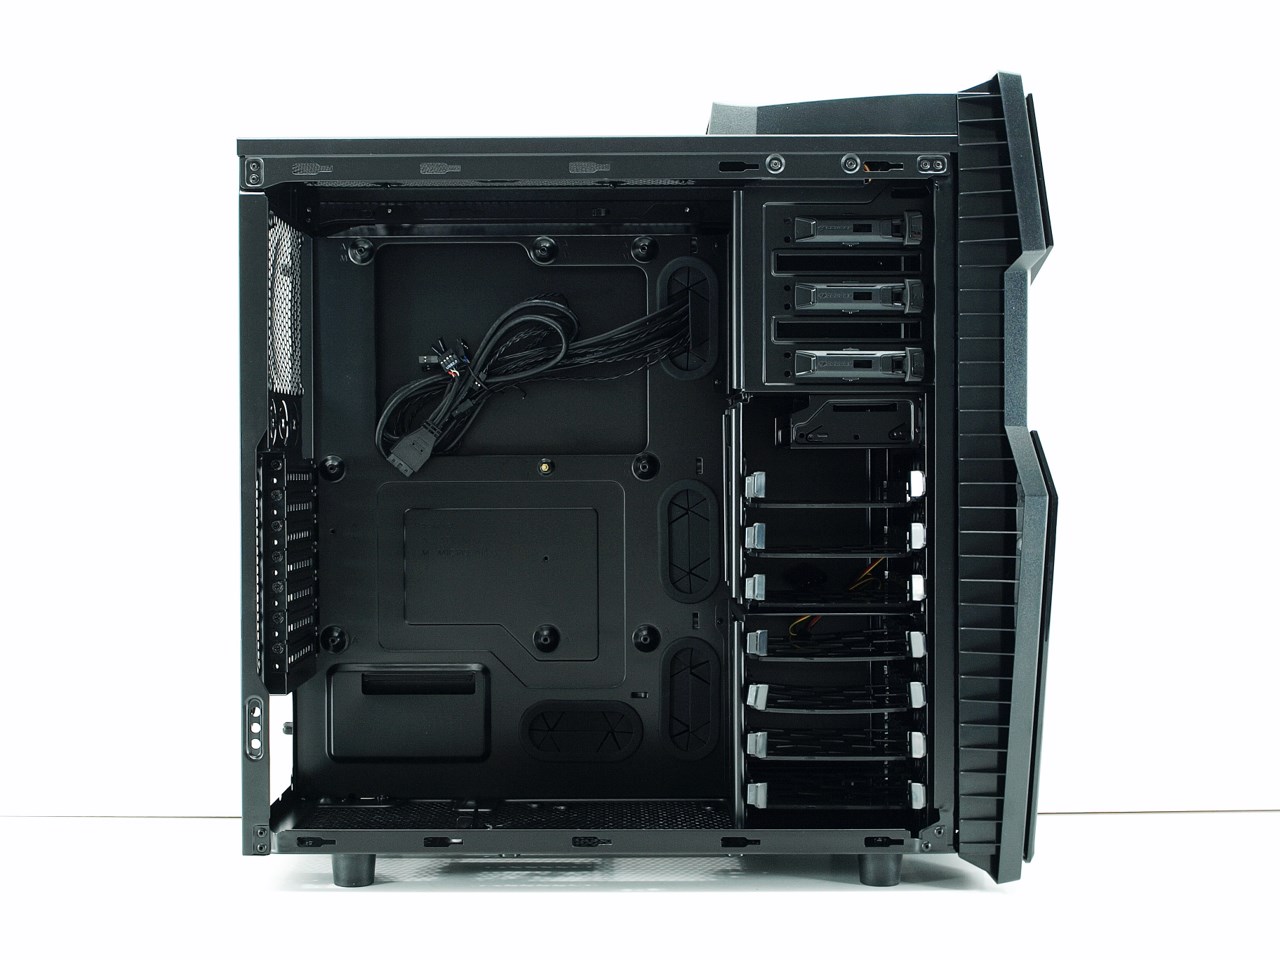
For a midi tower the black interior seems quite spacious.
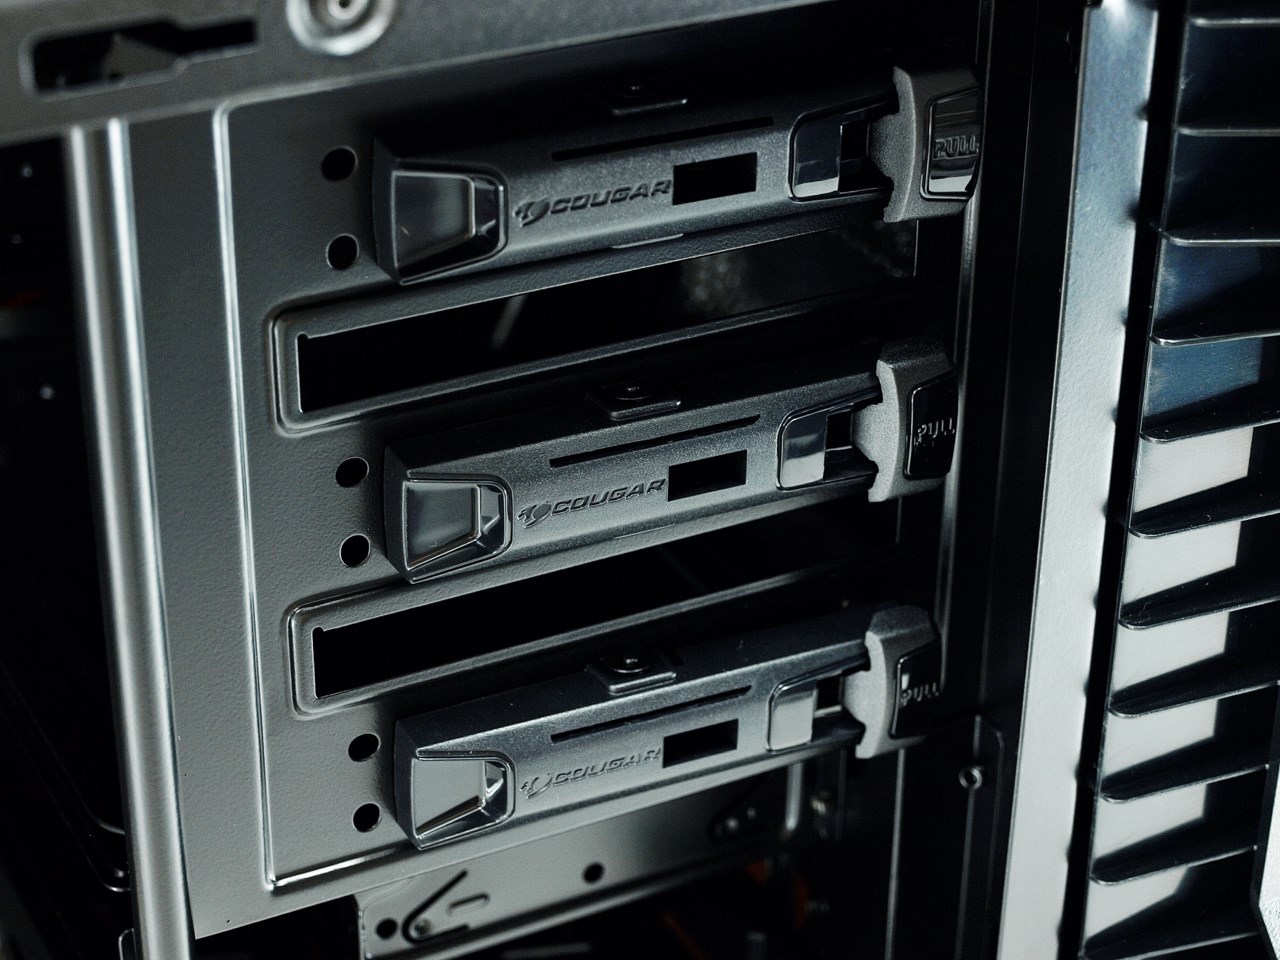
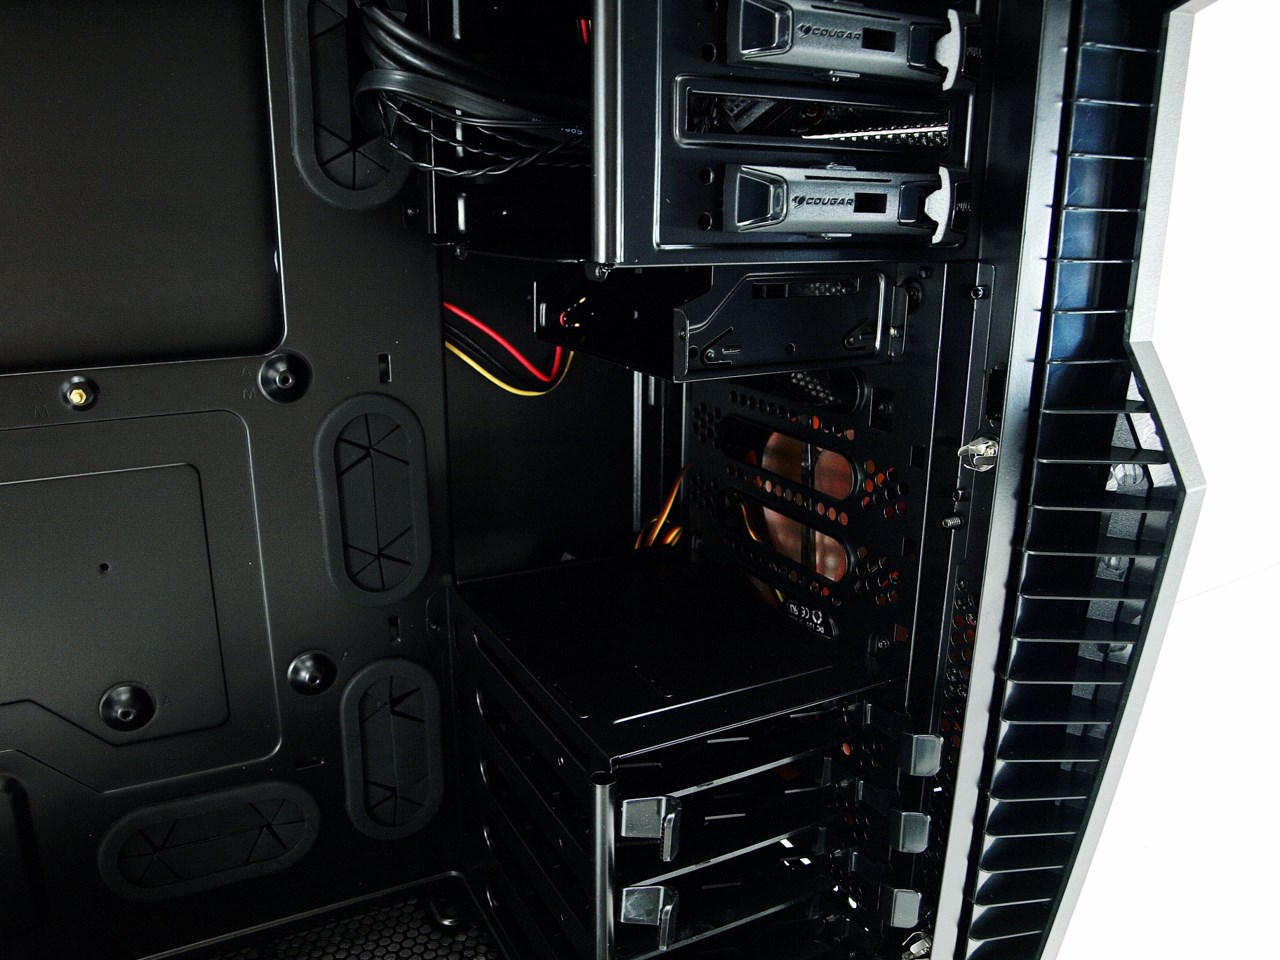
The 3 optical drive bays feature tool-less locking mechanisms.
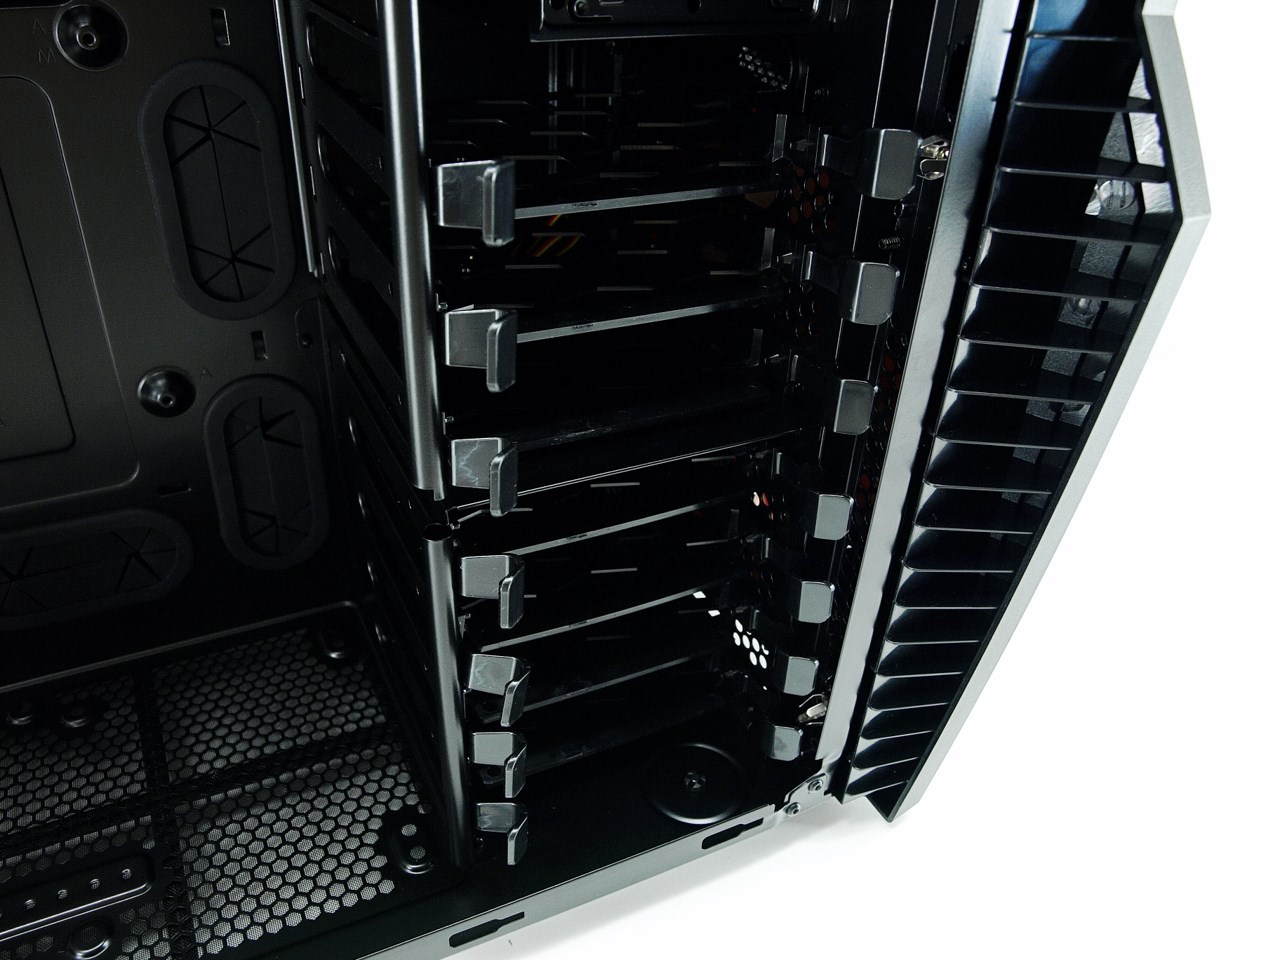
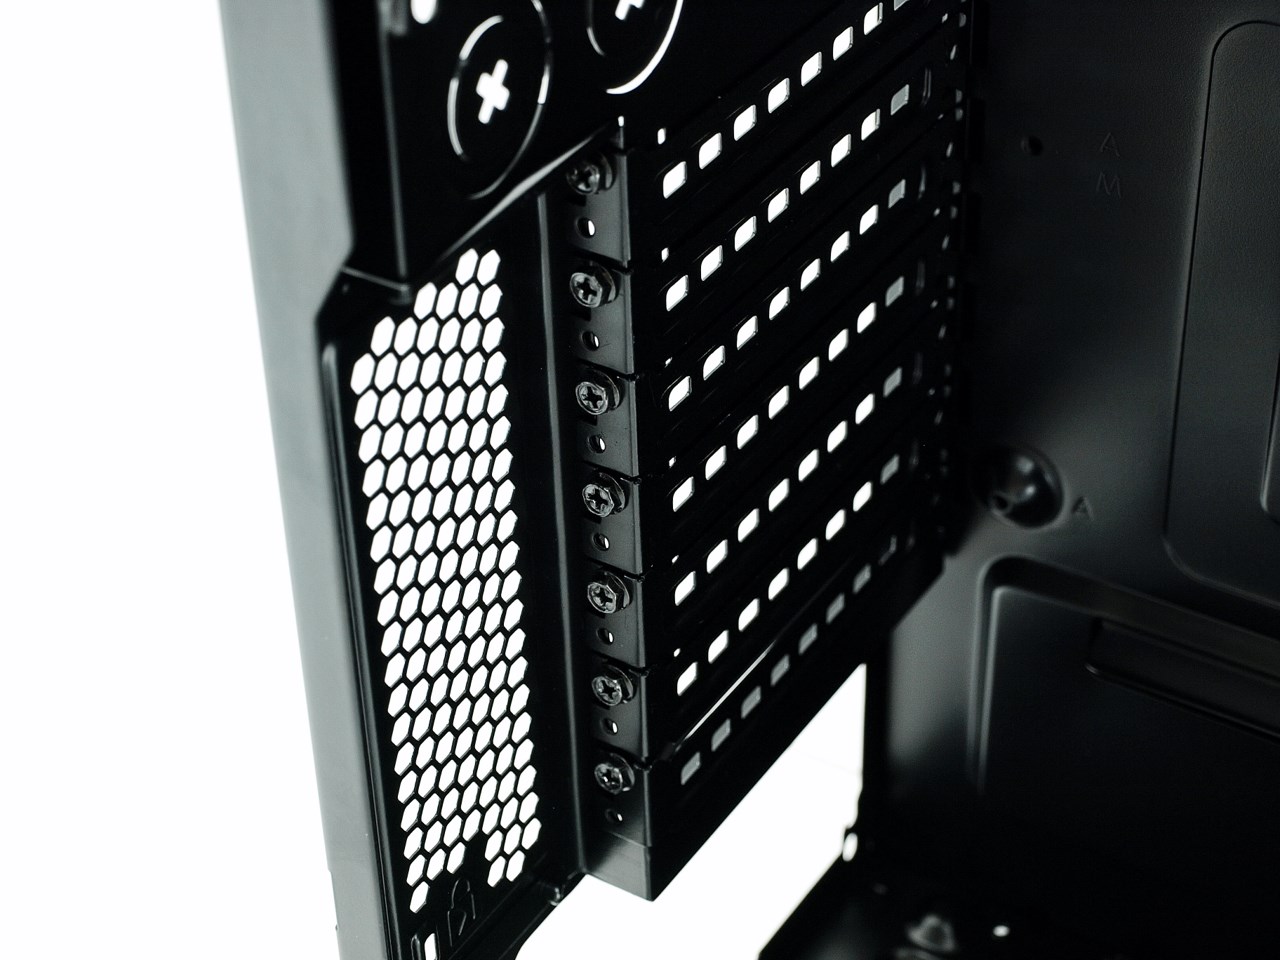
Right beneath we see the 1.44" FDD bay and a total of 7 drive trays inside two cages.
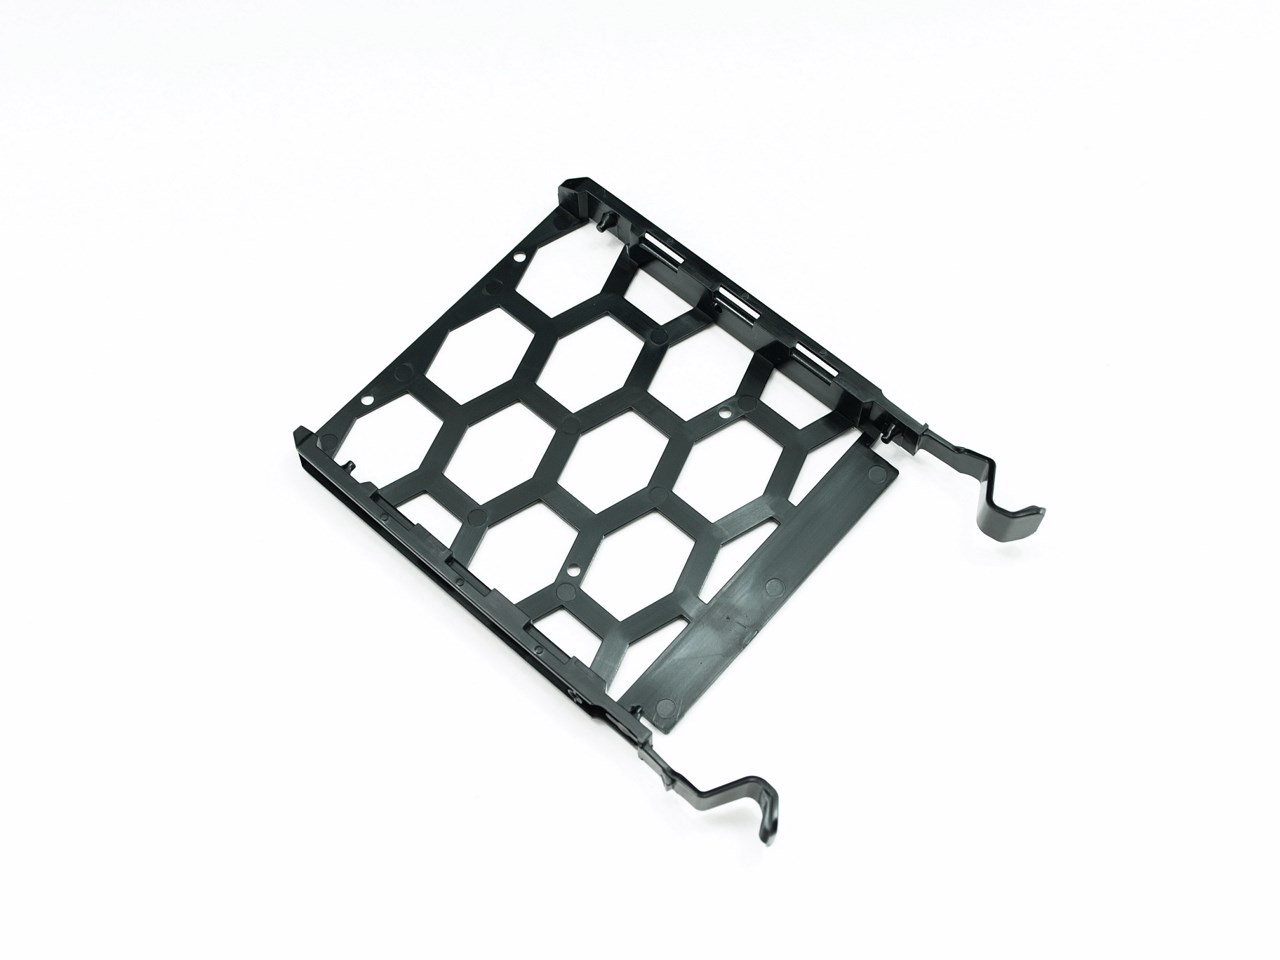
The drive trays are made by flexible plastic and thus are not very sturdy.

If you need to use a GPU longer than the default 300mm you can remove the side of the top cage and either move it further to the front and attach it onto the 1.44" FDD space to get a total of 330mm (you will have to use the bundled 2.5" trays if you do that) or remove it entirely giving you a total of 410mm.

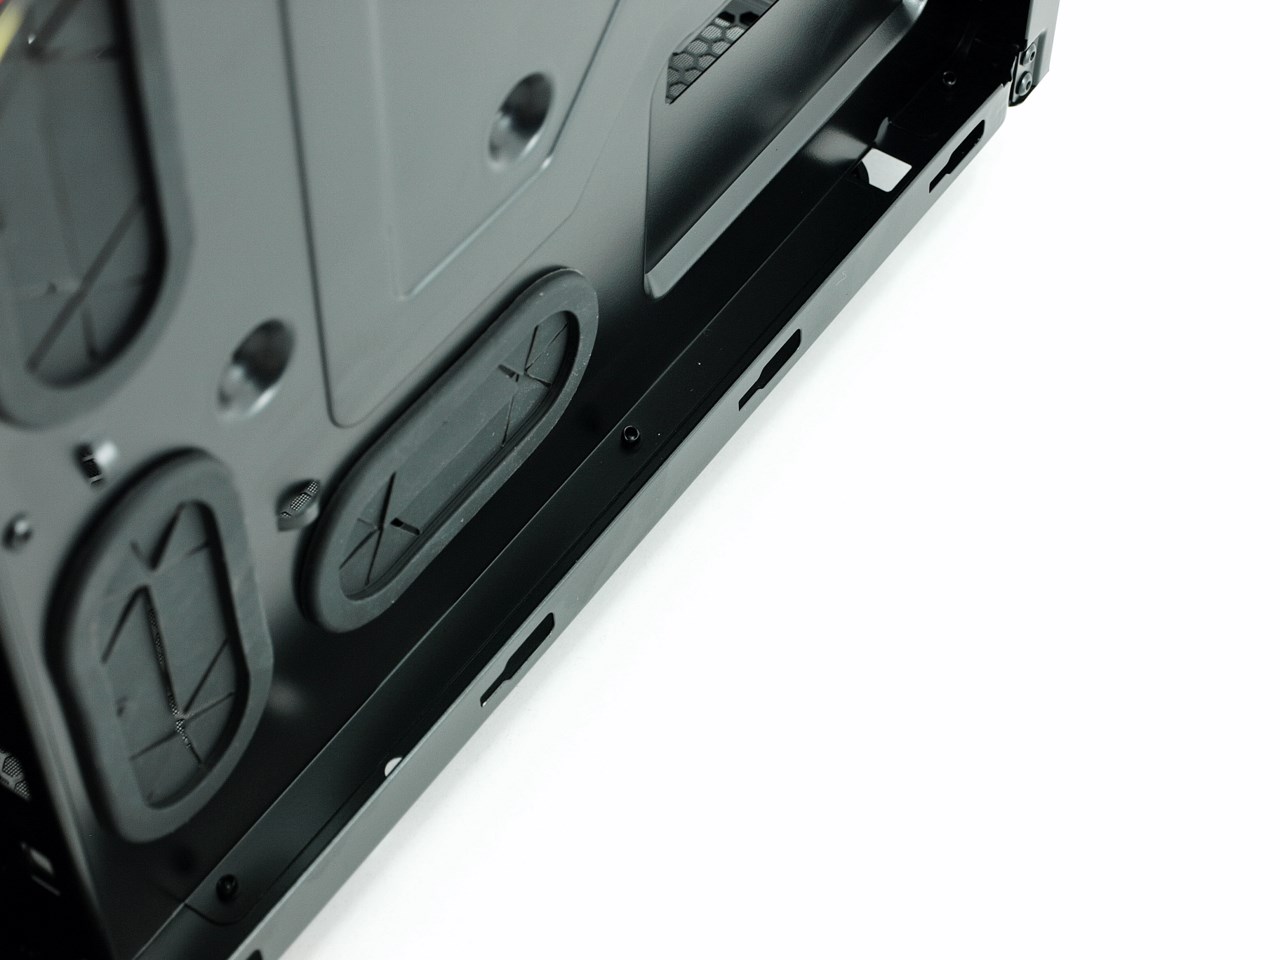
There are a total of 4 rubber coated holes on the mainboard tray and a very large opening under the CPU area allowing you to switch backplates without removing the mainboard.
All of the 7 PCI expansion slots are secured in place with the use of normal screws.
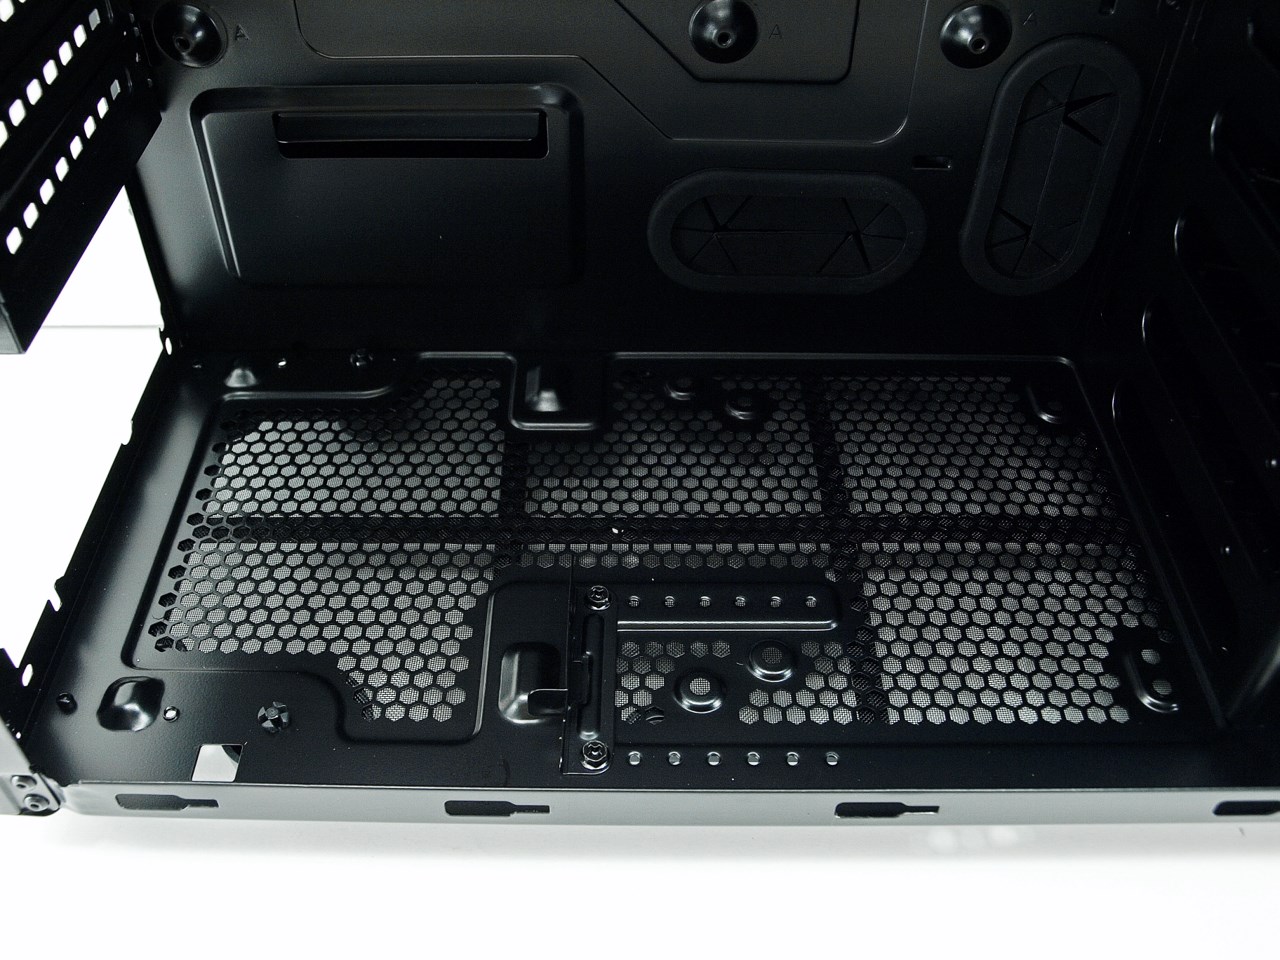
At the bottom you can mount yet another 120mm/140mm fan and as you can see although there are no rubber pads for the PSU to sit on Cougar has placed an piece of metal to increase its stability (useful for people who attend LAN parties).
Cougar has also given plenty of space between the mainboard tray and the right side panel so even the thickest cables should fit just fine.