O-Sense


THE IB-MP3011PLUS INTERIOR
To take the cover off you just need to remove the 4 small screws found at the bottom and then slide the cover backwards.
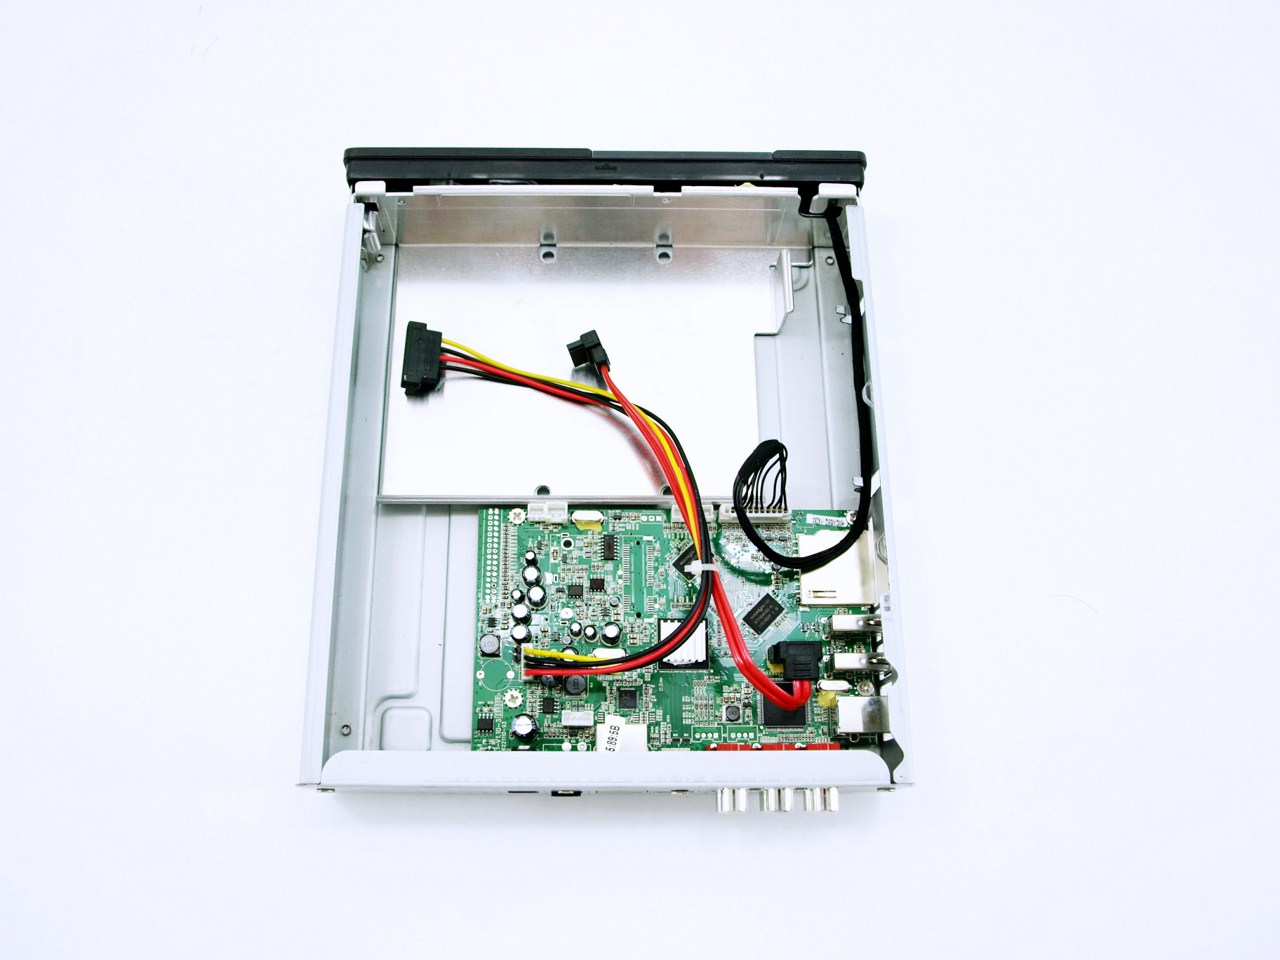
Unfortunately just like its predecessor the interior of drive space was not made with 2.5" drives in mind so you can only use 3.5' hard disk drives (unless you use a 2.5" to 3.5" adapter or use just 1 out of the 4 screws).
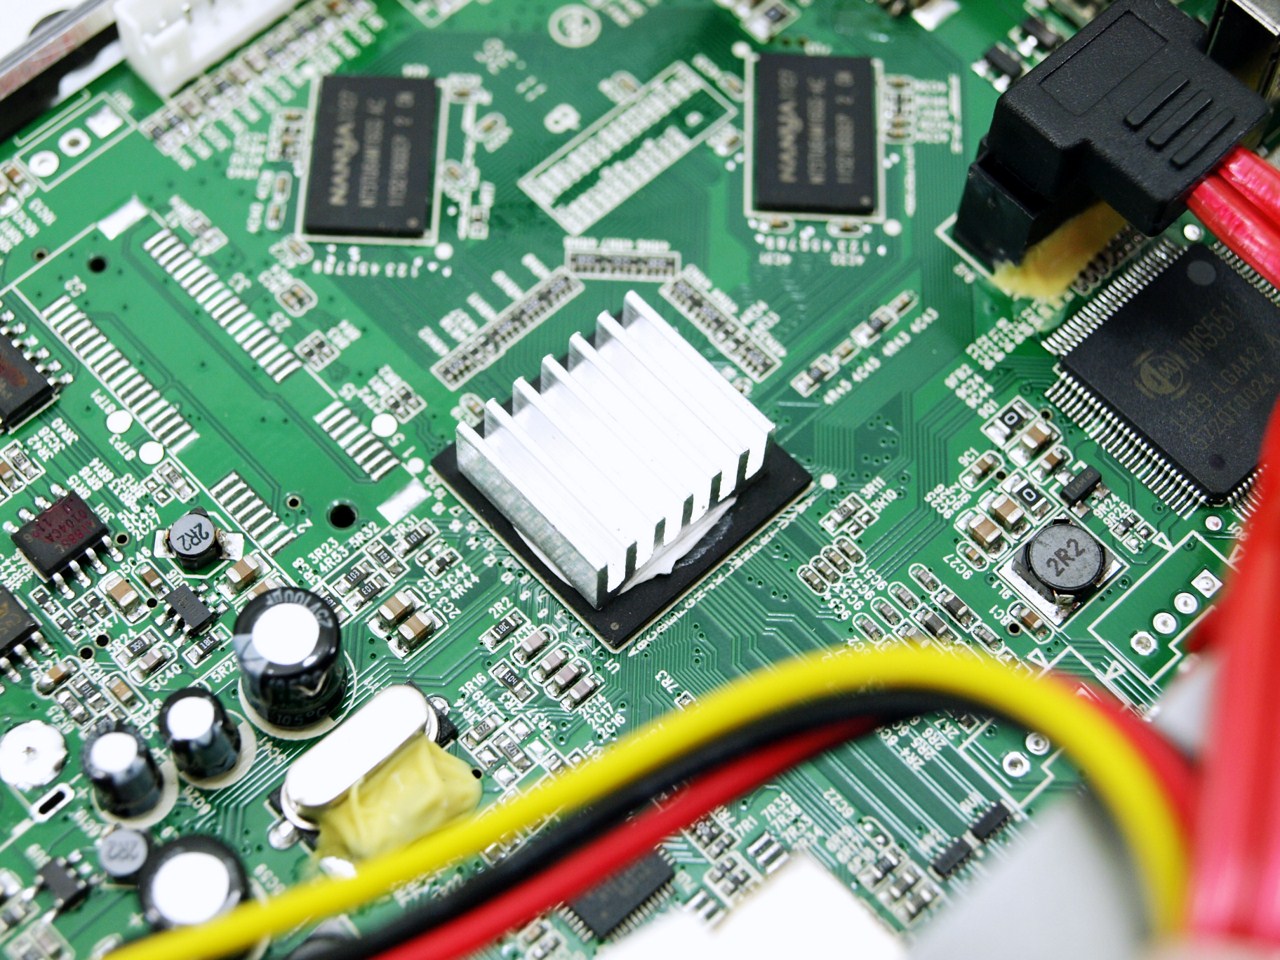
The latest Realtek RTD1185 chip supports 3D media playback and is located beneath that small heatsink, however i was unable to remove it (didn't feel like damaging the unit).
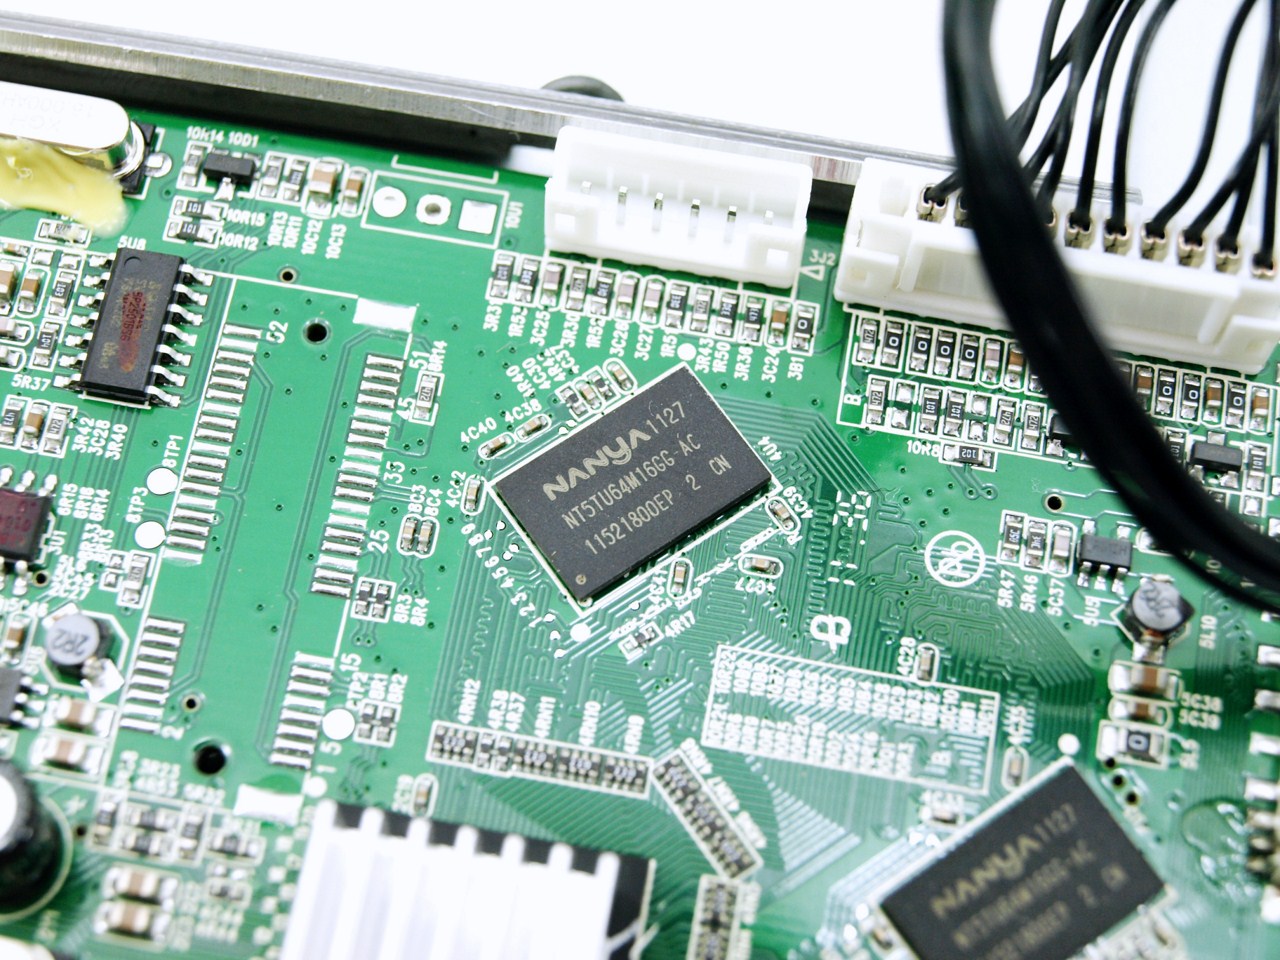
The IB-MP3011PLUS uses the same NT5TU64M16GG-AC DDR2-667/800 memory modules by Nanya just like its predecessor.
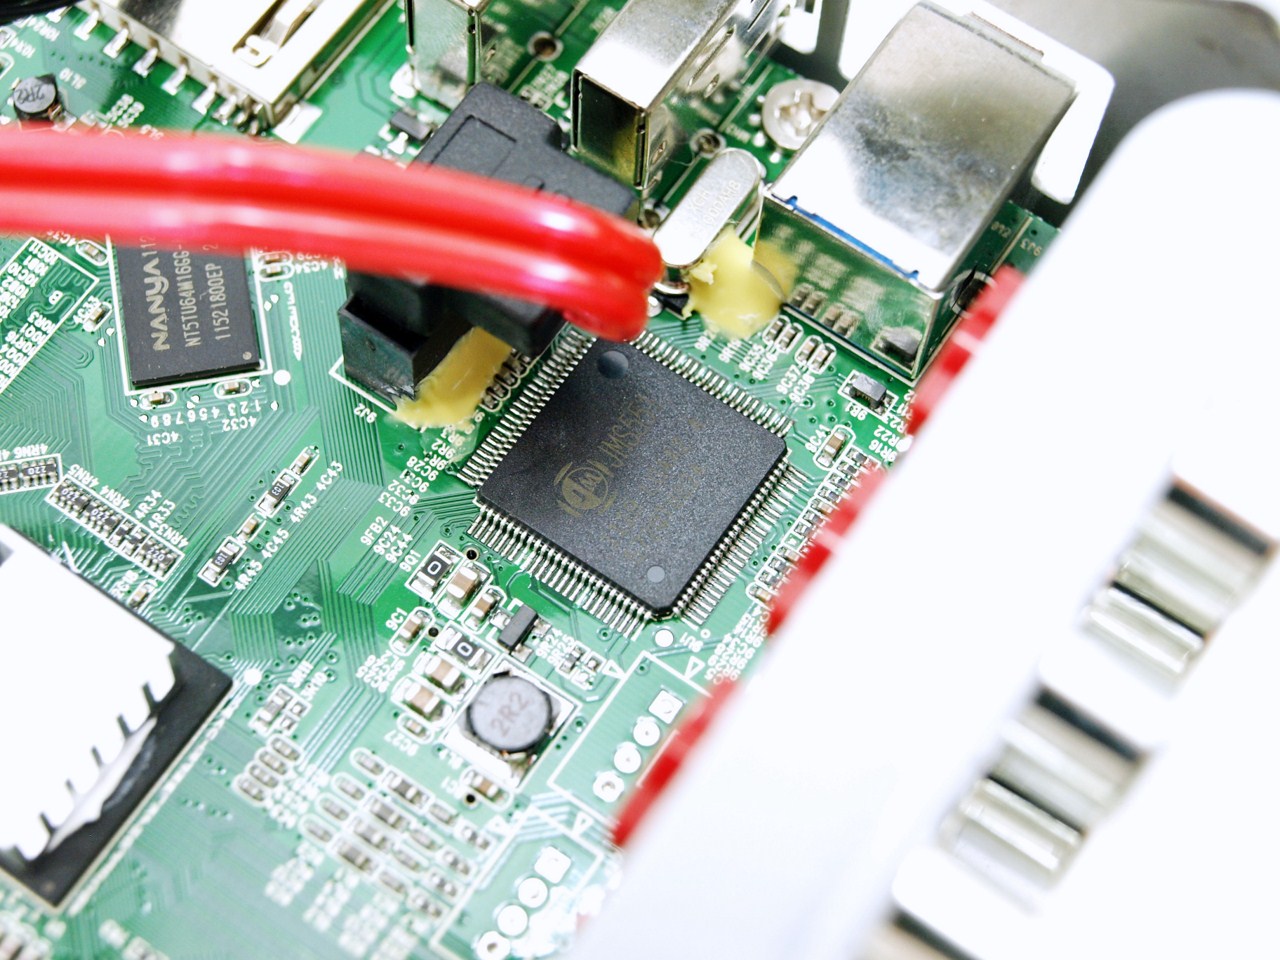
The JMS551 SuperSpeed USB to SATA II 3.0G Bridge chip by JMicron is also present on the board.
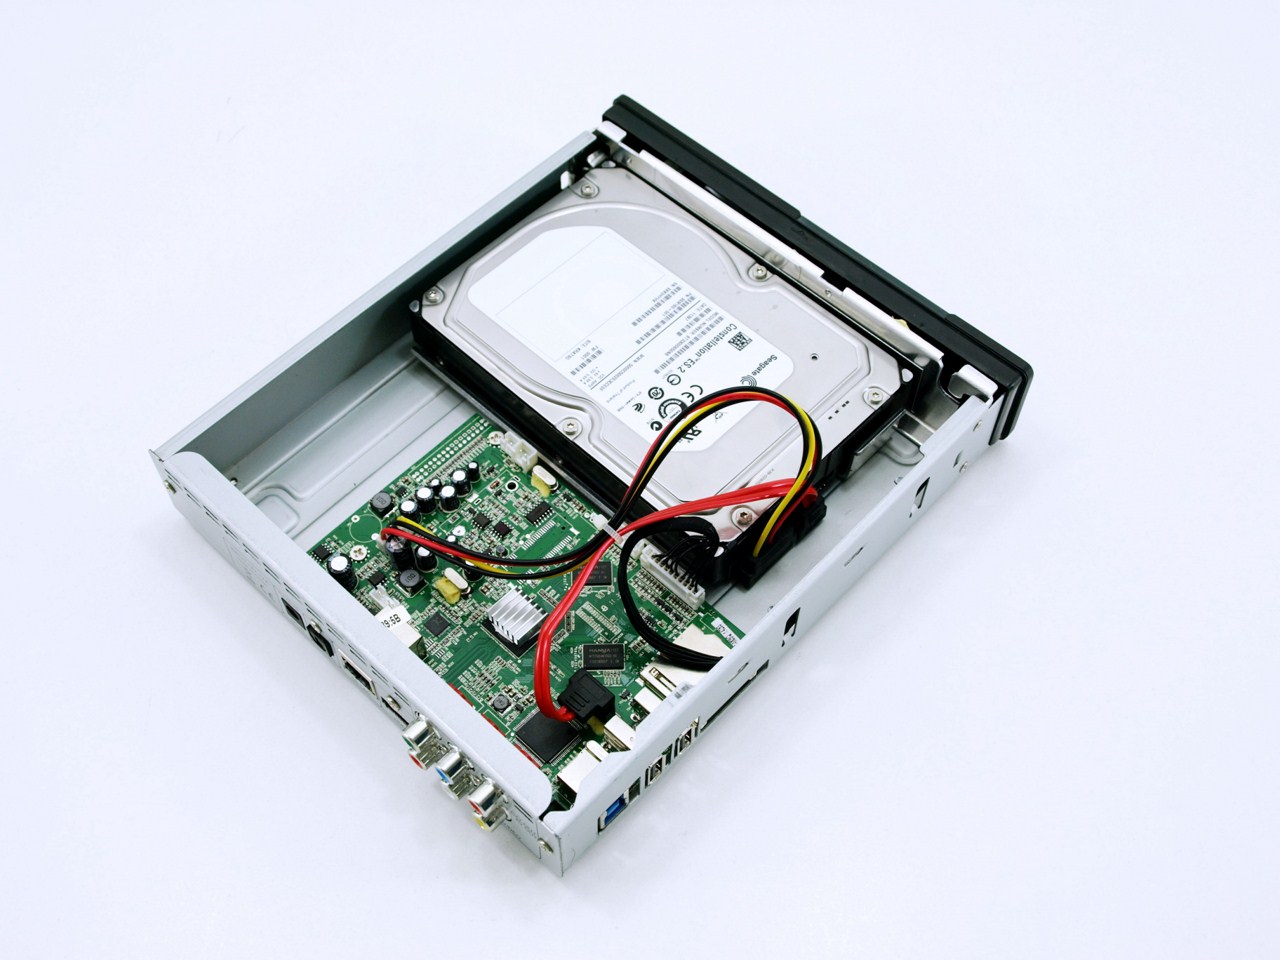
Installing the HDD is extremely easy, you just place it in the drive space, place the 4 screws on the 4 holes found beneath the unit and you are good to go.