O-Sense


THE P2PRO
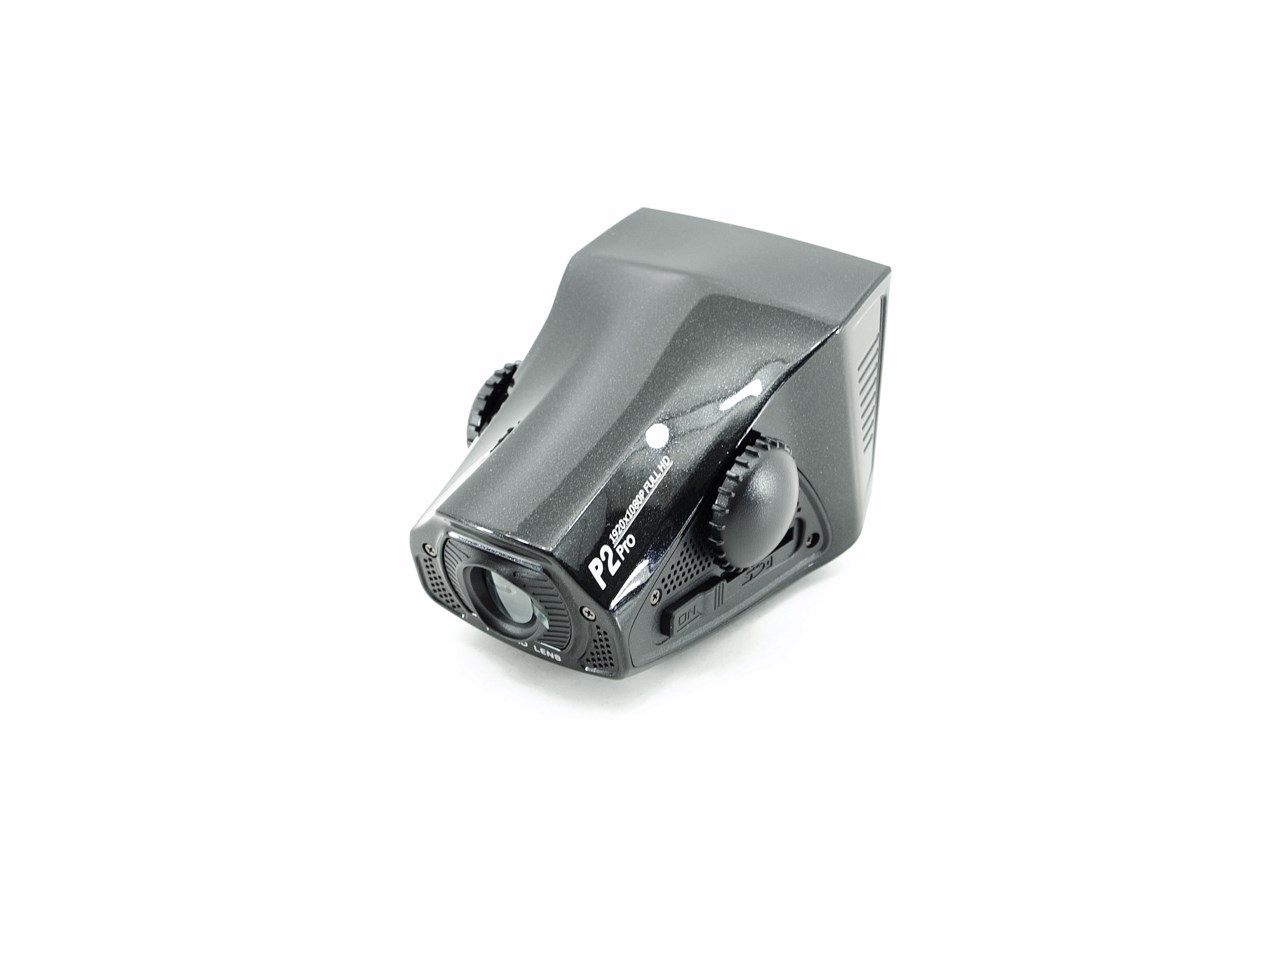
The very first thing you will notice with the P2Pro is that the design and size of its hard plastic housing are not similar to that of other dash cameras.

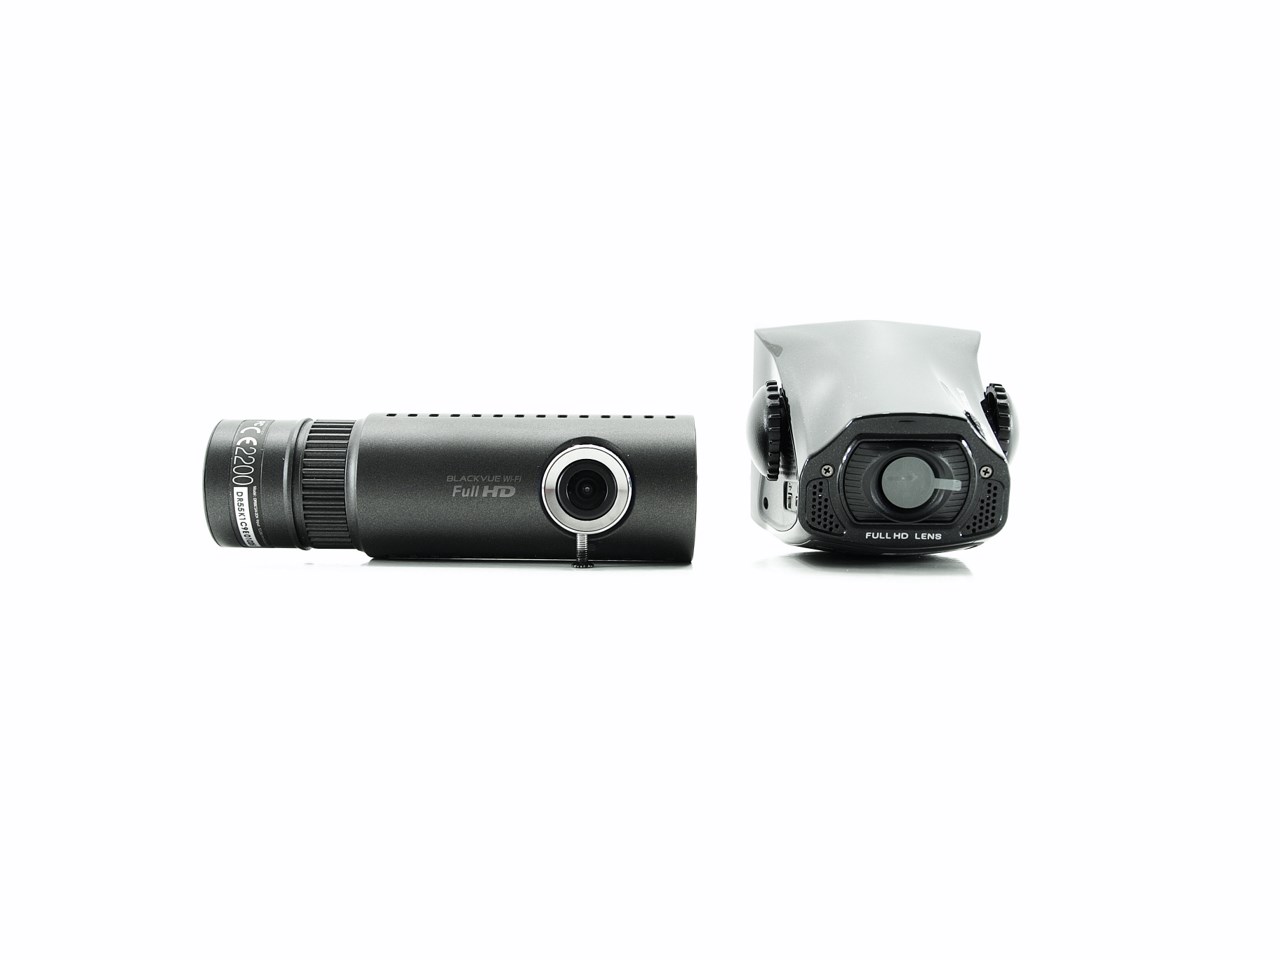
To see what we mean we placed it right next to the Pittasoft DR550GW-2CH.

One of the things i like about the P2Pro is that the lens is placed further inside the housing so it's very hard to scratch. Thanks to the aptina 3.5Mp 1/3 CMOS sensor the P2Pro can record video at Full HD 1080p30 with a wide angle of 130 degrees.
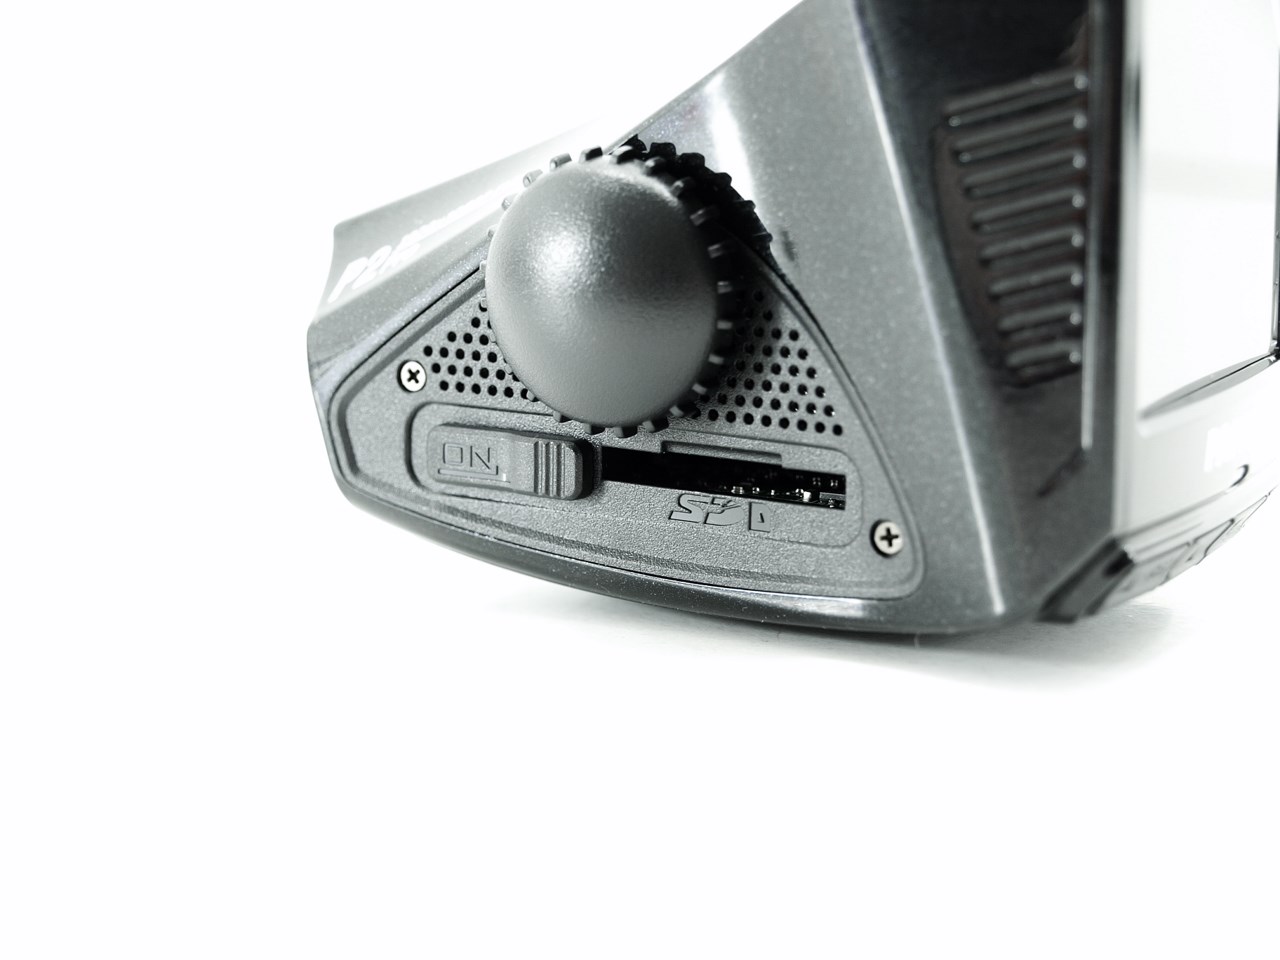
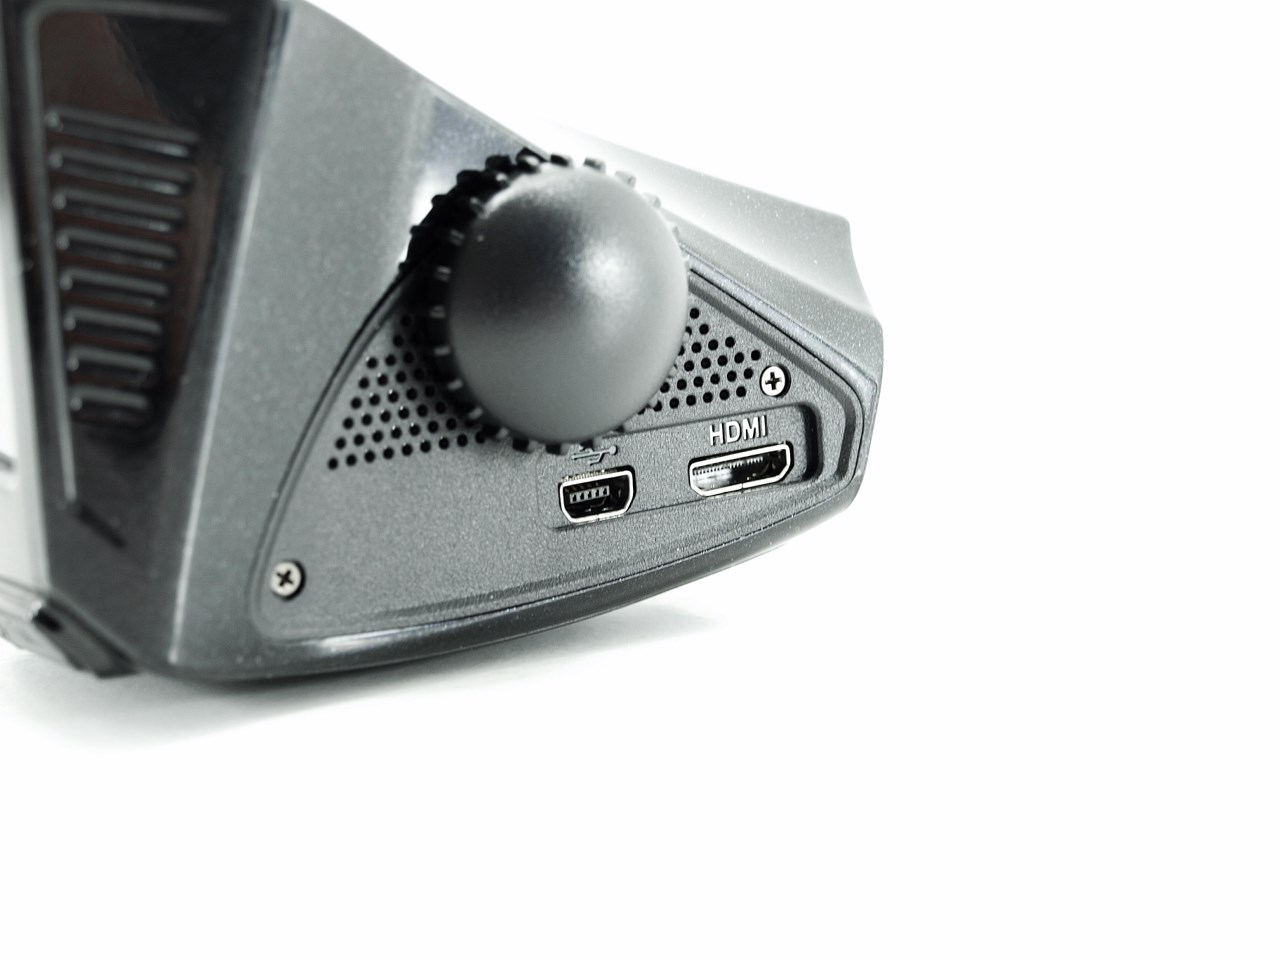
The on/off power switch and the SD card slot (32GB max) are placed on the left side of the device while on the right side we see the miniUSB and HDMI 1.3 ports.
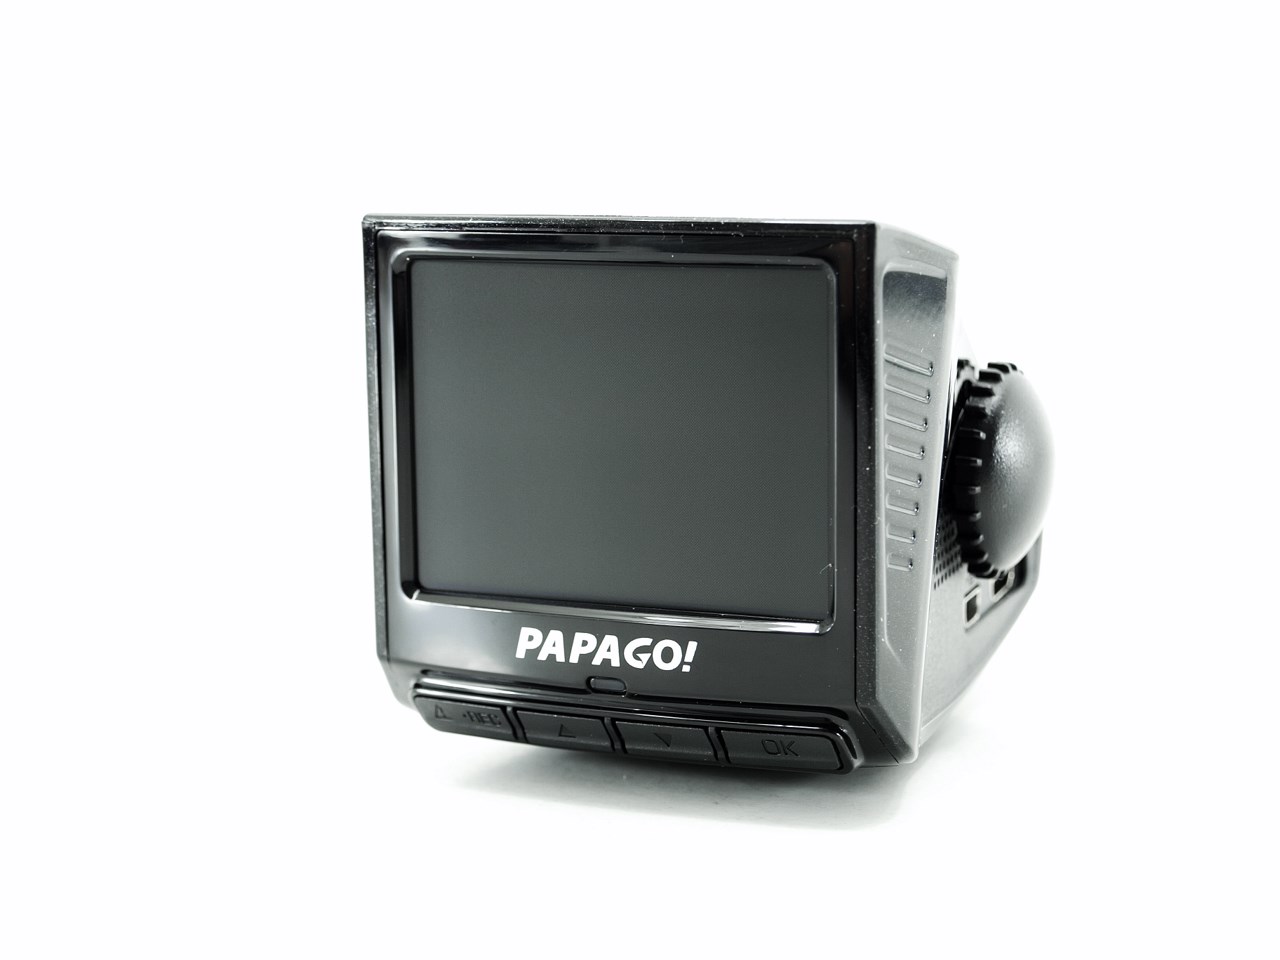
Another great feature of the P2Pro is the 2.4" LCD screen placed at the rear (320x240p). Right beneath the screen we see the activity LED and the navigation buttons.

The microphone is placed at the bottom of the device right next to the speaker.
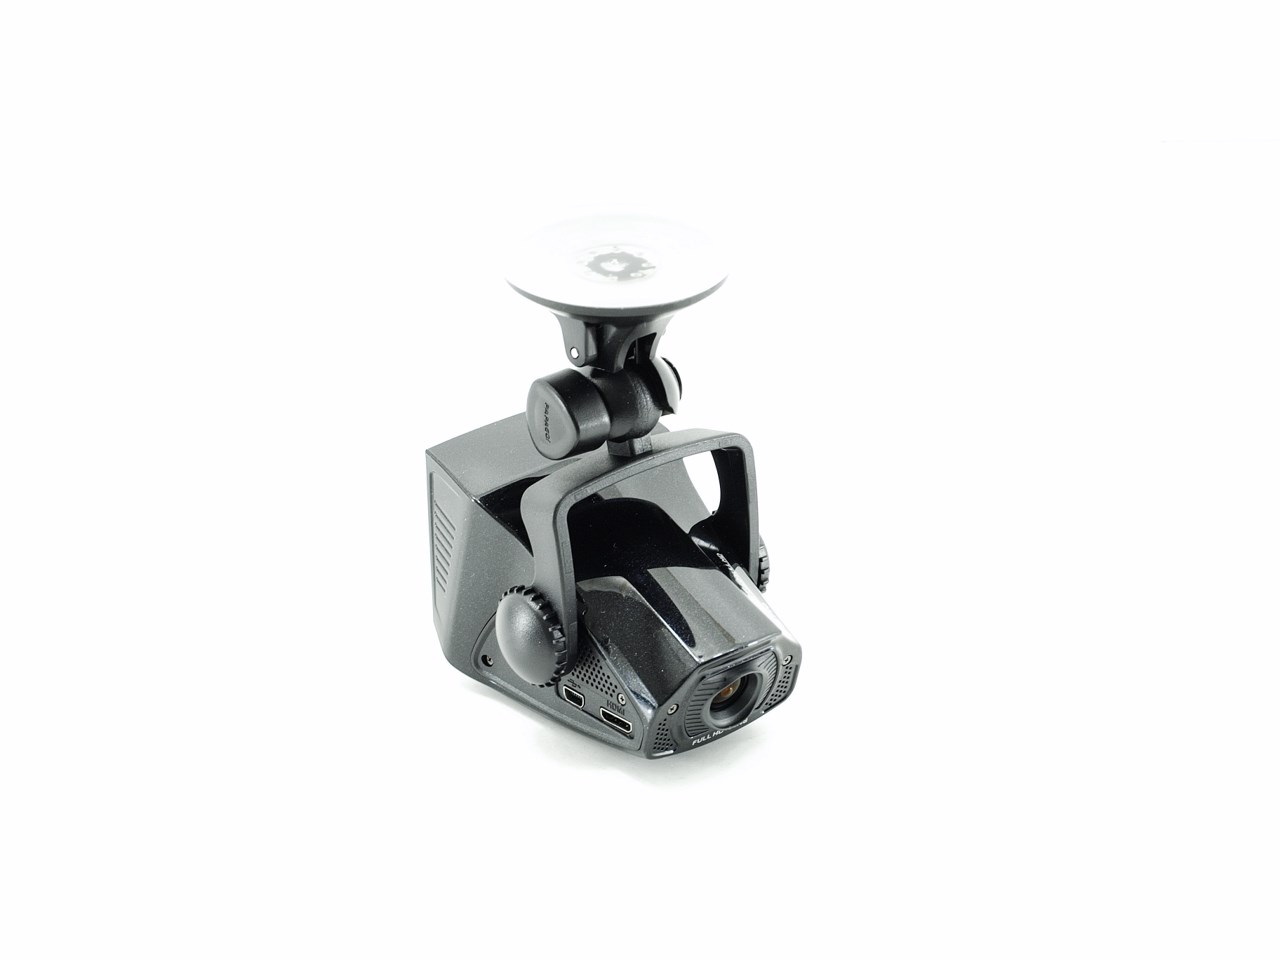
Mounting the P2Pro to your dashboard is very easy so you just need to remove the two wheels placed on the sides, install the suction mount and then place them back in.